Рецепты пирогов на английском языке с переводом
English2017
Английский для всех простым языком
Рецепт пирожков на английском
 Сегодня готовим дрожжевые печеные пирожки.
Этот рецепт на английском я писала специально для американки.
Пирожки получаются мягкие воздушные.
К слову сказать, наши русские пирожки у нее удались с первого раза.
Американцы вообще любят нашу кухню.
Итак, давайте приступим.
How to make very yummy Russian piroshky — Как приготовить очень вкусные русские пирожки
So, we need follow ingredients:
One glass of warm milk /200 ml/,
75 grams of butter,
Dry or wet yeast that you usually use.
One teaspoon of salt,
A teaspoon of sugar,
250 grams of sifted flour,
2 teaspoon of vegetable oil.
Method
In warm water or milk (half a cup), add the yeast and sugar. Thoroughly mix it.
And leave for 15-20 minutes in a warm place.
Then take the milk, make sure it is warm, at room temperature or about 30-35 degrees C (like the milk you give to small baby).
Add the yeast in the milk and mix well.
Then add salt and sugar.
Make sure to mix thoroughly.
Now add some flour .. mixing it in till you get to the consistency of sour cream.
And thoroughly mix again.
Set the bowl aside.
Melt butter.
Allow it to cool a little, until it becomes only warm, and add it to the egg.
Here, too, add a little flour, and mix well.
Then we should add this mixture to the bowl with milk and yeast.
Thoroughly mix everything and gradually add the flour.
The dough should be very carefully kneaded — about 10 minutes.
Look, the dough is very soft, and does not stick to your hands.
At the end add 1-2 teaspoons of vegetable oil.
Everything once again mix well by hand.
I do it already on the table.
Well, the dough is well mixed.
Put it back in the bowl, cover with a cloth or kitchen towel and give the dough time «to rest».
Dough should stand in a warm place for about 35 to 40 minutes — depending on the yeast and flour, which you used. Usually we put the dough in a warm place close to the radiator. But it’s summer now and we have the radiators disconnected, therefore, the dough will rise only slightly.
Well, one hour has passed – the dough has risen.
We spread it back on the table and knead again to get rid of all the carbon dioxide.
Now again we put the dough in a bowl, cover with a kitchen towel, put it in a warm place and wait for the dough to rise for the second time.
It has been 30 minutes, see how much our dough has risen.
Now, we shape small balls with the dough.
I like to make small piroshkys — but you can make larger ones if you want.
We cover them with plastic wrap and leave for 15 minutes.
It has been 15 minutes, the balls have risen a bit.
Now we start to sculpt piroshky.
We make little pancakes with the palms of our hands.
Then put the filling in the center of each pancake.
Press the edges together.
On a baking sheet put baking paper or grease the pan with vegetable oil.
When all the piroshky are ready, we put them on a baking sheet and leave them for 20-30 minutes to get them risen.
It has been 25-30 minutes, piroshky have risen, now brush them with egg and put them in the oven.
Bake piroshky at 180-190 degrees until brown, for approximately 15-20 minutes, depending on the oven!
Here are critical tips of making piroshky — вот важные советы приготовления пирожков
Use only tested fresh yeast!
Use flour only of the highest grade!
The milk should be warm!
Approximate time of kneading — 10 minutes!
Do not open the oven during baking!
In the oven, we put a pan of water for better baking.
The kitchen should not be a drafty!
If the kitchen is cool — the dough will rise badly!
Usually we put the dough next to the radiator or gas stove – for warmth!
After baking piroshky it is necessary to grease with butter.
Рецепт пирога на английском
Рецепт приготовления домашнего аппетитного пирога на английском языке с переводом.

Pies with cabbage and eggs is a favorite treat of all generations. Luscious pastries looks delicious and has incredible flavor.
Recipe Russian cake with cabbage and eggs
In Russia like to say: “red hut pies”. Has long been a favorite dish in Russia were pies with cabbage. They put on a feast in the center of the table and was served to all guests. We offer you a modern Russian cabbage pie and eggs.
Ingredients:
- flour – 1 kg;
- butter – 350 grams;
- water – 2.5 cups;
- yeast – 25 grams;
- milk – 200 ml;
- egg – 5 pieces;
- salt;
- cabbage – 1 large loaf.
Method of preparation
In warm water dissolve the yeast. Divide the flour into 2 equal parts and pound to mix with the swollen yeast. This is the basis for the dough – dough. The resulting mixture ist cover with a towel made of natural material that penetrated through the air, and set aside for 2 hours.
2 beat eggs, adding salt and a spoonful of sugar. A lot to combine with the remaining flour, pre-sifted. To enter into the milk and knead the dough.
The dough is mixed with yeast mixture until smooth. On floured Board knead the dough with oil. Pre-the butter should be frozen. To hit and roll out.
To prepare the filling you need to grind the cabbage with a sharp knife and pour boiling water. In a pan melt the butter, add chopped cabbage and fry until soft.
3 boil hard-boiled eggs, finely chop. Mix them with the cooled cabbage, salt and pepper to taste.
On the rolled out layer of dough evenly put the filling, sumipntg edge and place on a baking sheet. Bake in a preheated oven at 180-200 degrees for 35-40 minutes.
Bon appetit!
Перевод
Пироги с капустой и яйцом – любимое угощение всех поколений. Ароматная выпечка выглядит очень аппетитно и имеет невероятный вкус.
Рецепт русского пирога с капустой и яйцами
В России любят повторять: «Красна изба пирогами». Издавна любимым кушаньем на Руси были пироги с капустой. Их ставили на праздник в центр стола и угощали всех гостей. Вашему вниманию предлагается современный русский пирог с капустой и яйцами.
Ингредиенты:
- мука – 1 килограмм;
- масло сливочное – 350 грамм;
- вода – 2,5 стакана;
- дрожжи – 25 грамм;
- молоко – 200 мл;
- яйцо – 5 штук;
- соль;
- капуста – 1 большой кочан.
Способ приготовления
В теплой воде развести дрожжи. Муку разделить на 2 равные части и полкилограмма смешать с разбухшими дрожжами. Это основа для теста – опара. Полученную смесь накройте истым полотенцем из натурального материала, чтобы сквозь него проникал воздух, и отставьте в сторону на 2 часа.
2 яйца взбить, добавив соль и ложку сахара. Массу соединить с оставшейся мукой, предварительно просеянной. Ввести в молоко и вымесить тесто.
Тесто смешать с опарой до однородной консистенции. На посыпанной мукой доске перемешать тесто с маслом. Предварительно сливочное масло должно быть подморожено. Отбить и раскатать.
Для приготовления начинки нужно капусту измельчить острым ножом и обдать кипятком. В сковороде растопить масло, добавить туда нашинкованную белокочанную и обжарить до мягкости.
3 яйца отварить вкрутую, мелко нарубить. Смешать их с остуженной капустой, посолить и поперчить по вкусу.
На раскатанный пласт теста равномерно выложить начинку, защипнуть края и выложить на противень. Выпекать в разогретой духовке при температуре 180-200 градусов 35-40 минут.
Приятного аппетита!
LingvaKids
английский язык для детей, домашнее обучение английскому языку детей от 2 до 7 лет
Печем яблочный пирог с детьми на английском.
Cooking with kids
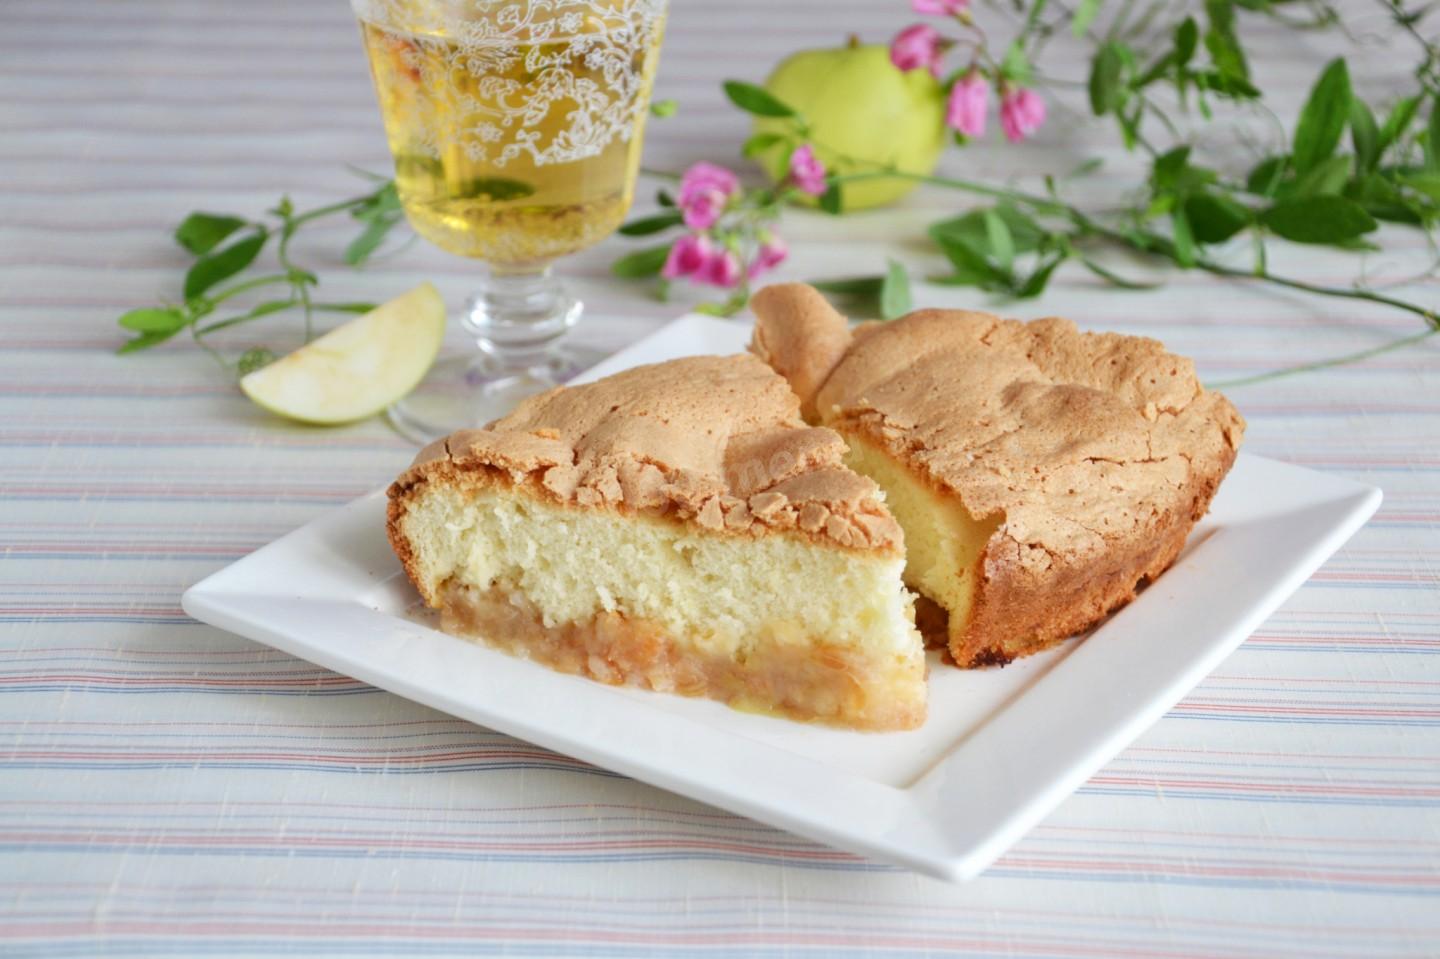
Apple Pie
Осень — яблочный сезон и мы готовим много всякой вкуснятины из яблок, но чаще всего — яблочный пирог. И конечно же делаем это на английском. Если вы такие же фанаты шарлотки и английского, то присоединяйтесь!
Мы с детками приготовили для вас пошаговый кулинарный мастер на английском.
Рецептов шарлотки очень много, мы печем по своему, вы можете попробовать наш, а можете взять свой привычный рецепт взять. Ингредиенты будут почти все одни и те же, различаться может количество и немного процесс.
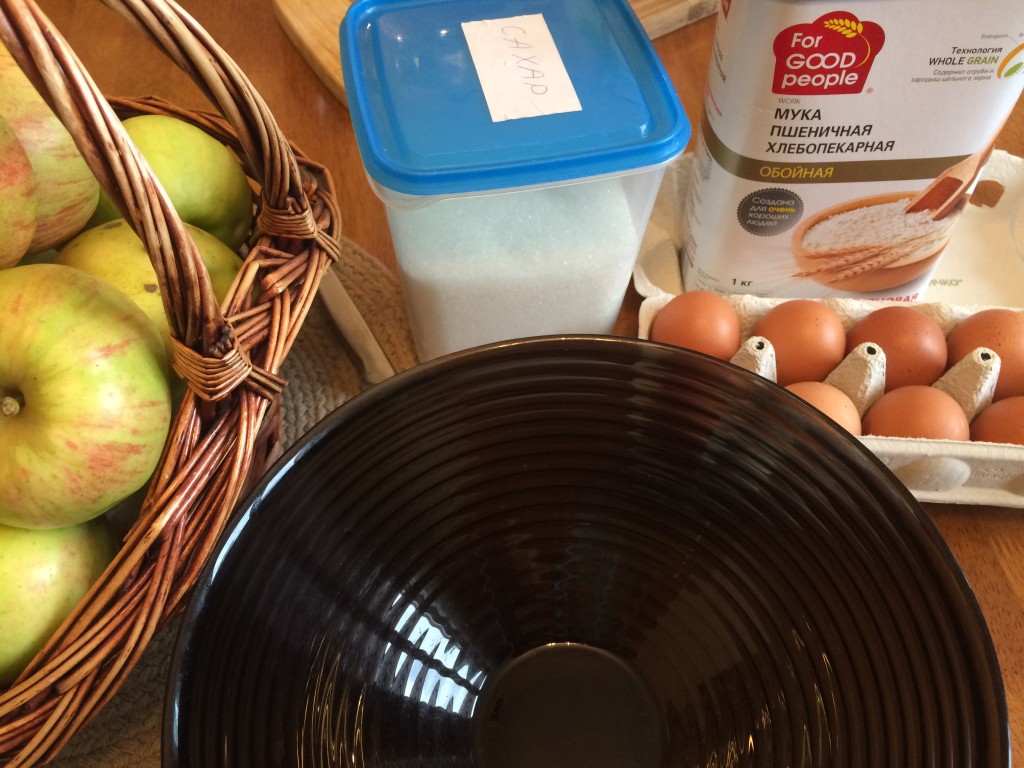
Итак, что нам понадобится:
4-5 яблок (примерно)
Яблоки я предварительно режу на четвертинки и вырезаю сердцевинку, так чтобы дети могли сами порезать яблоки на кусочки.
Если детки слишком малы, чтобы доверить им нож, режьте яблоки сами, комментируя свои действия.
Итак, приступим — Let’s get started!
Today we are going to bake an apple pie!
We’ll need apples, eggs, sugar and flour.
First let’s wash apples and cut them into small pieces.
Now I’m going to oil the pie pan, sprinkle it with bread crumbs.
And I need to preheat the oven – I’ll switch it on and set it to 180 degrees.
Now let’s take a big bowl and break 3 eggs into it.
Now let’s add a cup of sugar and beat them together with mixer for couple of minutes.
Now we need to add flour, but we need to sift it first.
Hold the sifter over the bowl, I’ll pour some flour into it.
Now shake the sifter over the bowl.
Now let’s mix in the flour carefully.
Now I’ll pour our apples into the pie pan and pour the batter over them.
Now we can put our pie into the oven to bake.
We need to wait for about 40 minutes.
Meanwhile we can wash the dishes to have our kitchen nice and clean.
Ok, our apple pie is ready now!
I’m going to remove it from the oven and let it cool.
And then we can have tea with our apple pie!
Enjoy your treat!
Mmmm! It’s delicious!
Сегодня мы испечем яблочный пирог!
Нам понадобятся яблоки, яйца, сахар и мука.
Сначала давай помоем яблоки и порежем их на маленькие кусочки.
Теперь я смажу форму для выпечки, присыплю ее панировочными сухарями.
И нужно предварительно подогреть духовку – я включу ее и установлю ее на 180 градусов.
Теперь давай возьмем большую миску и разобьем 3 яйца в нее.
Теперь давай добавим стакан сахара и повзбиваем их вместе миксером в течение нескольких минут.
Теперь нам нужно добавить муку, но сначала нам нужно просеять ее.
Держи сито над миской, я насыплю в него муку
Теперь потряси сито над миской.
Теперь давай вмешаем муку аккуратно.
Теперь я высыплю наши яблоки в форму для выпечки и вылью тесто на них.
Теперь мы можем поместить наш пирог в духовку печься.
Нам нужно подождать в течение приблизительно 40 минут.
Между тем мы можем помыть посуду, чтобы у нас была чистую и красивая кухня.
Хорошо, наш яблочный пирог уже готов!
Я сейчас выну его из духовки и дам ему остыть.
И затем мы можем попить чай с нашим яблочным пирогом!